ScuttleBot TFT – 3D Printer Interface Concept

ScuttleBot TFT Concept Design on my EasyPIC Fusion board
Recently I’ve been working on a 3D Printer Interface concept tentatively called ScuttleBot TFT. It started when I was looking for an interface for my upcoming Mini Kossel 3D printer build. I saw several multi-line character displays but not much in the way of color graphic or touch screen interfaces. So I struck out to make a color touch screen interface concept on my MikroE EasyPIC Fusion board to see what I could come up with and how much interest people would have for something like this.
The cool thing is that this can run on MikroE’s mikroMedia for PIC32 board which is compact and at $99 falls under the all important $100 price point (barely, but still makes it). It also includes a MicroSD card slot to read STL files from for computer free printing. It would be pretty easy to mount the board to a printed enclosure and attach it to the frame somewhere. The MikroMedia and my EasyPIC Fusion have the same hardware so the port from one to the other is super easy.
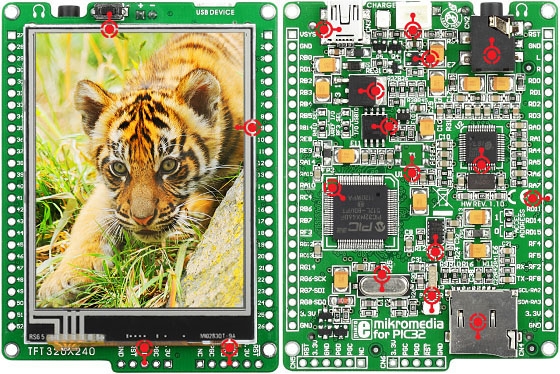
Front and back of the MikroMedia for PIC32 board
The concept code is done using MikroElektronika’s VisualTFT and MikroC Pro for PIC32. My initial concept is mostly interface design and screen navigation. I haven’t gotten very far in to the communications interface code with the firmware on my Ramps controller board yet but I have some ideas outlined on how to do it. One of my design goals is to make it user selectable from the touch screen whether to use SPI or I2C. Giving the option to use both would allow for maximum flexibility with other addons user might have.
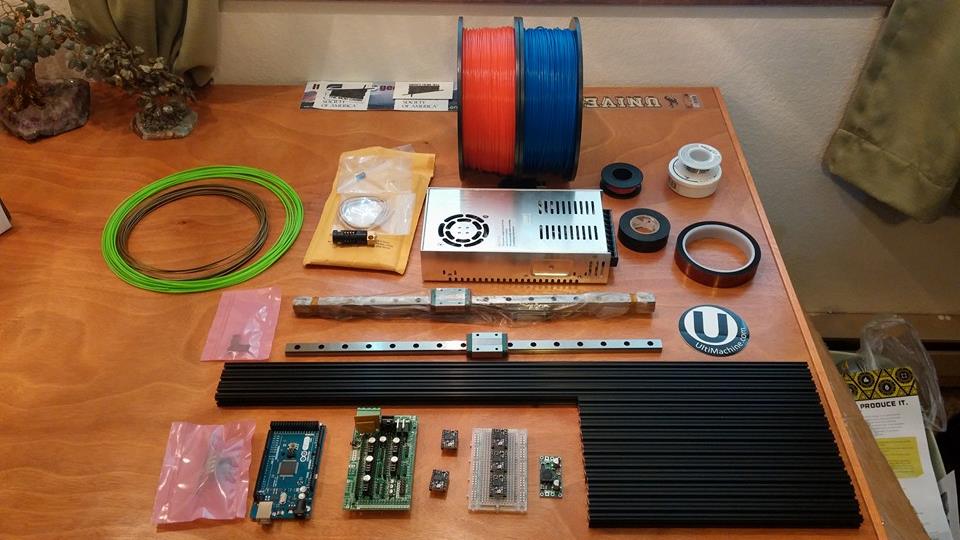
The other part of this is figuring out exactly what should go on the screen. I am unfortunately still waiting on my last package for my printer that happens to contains the printed frame parts and motors (sitting in US customs, boo!) so I have yet to really experience the process of calibrating and using a 3D printer on a day to day basis. Without that its rather hard to know what should be on the screens, what should be most accessible, and what is mostly frivolous information that would just be in the way. Hopefully I’ll cure that soon but for now I’m trying to get a framework built to make it easier to move things around and communicate information to and from the print controller board.
We’ll see where it goes and how interested people. Even if I find there is already a cheaper color touch screen interface out there I didn’t come across in my initial search I figure the knowledge I gain by building this project will help me substantially in understanding the specifics of 3D printer control and firmware.
Links:
MikroMedia for PIC32: http://www.mikroe.com/mikromedia/pic32/
VisualTFT Software: http://www.mikroe.com/visualtft/
MikroC Pro for PIC32: http://www.mikroe.com/mikroc/pic32/
EasyPIC Fusion v7 dev baord: http://www.mikroe.com/easypic-fusion/